
The Wonderful, Wacky World of Solarization ~ The Black And White Edition
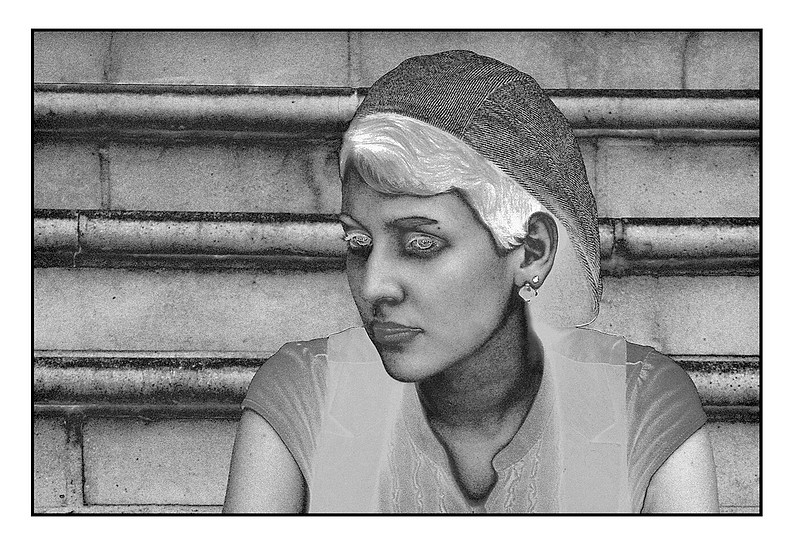
 Welcome to the wonderful and wacky world of solarization, the black and white edition, and how we achieve the effect digitally. But first, a bit of history:
So What Is Solarization?
In a word, solarization is a mistake. It was discovered as an accident in the analog black and white darkroom of American artist/photographer Man Ray in Paris by his then assistant Lee Miller. Although the effect had long been known since the 1840s, it wasn’t until Man Ray and Lee Miller stumbled across it accidentally, and then recognizing the aesthetic allure it could produce, began experimenting with the technique in a deliberate manner.
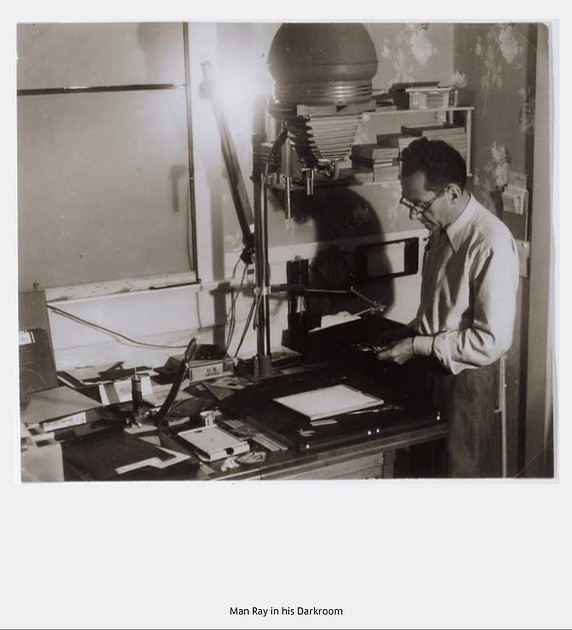 Rumor has it that while Lee was in the darkroom developing a print for Man Ray, she felt a mouse scurry across her foot and in panic she turned on the white light while the print was developing. Realizing her mistake, she quickly turned the light off, but the effect was already at work. Parts of the still developing image were “reversed” and exhibited the qualities of a negative, along with the positive.
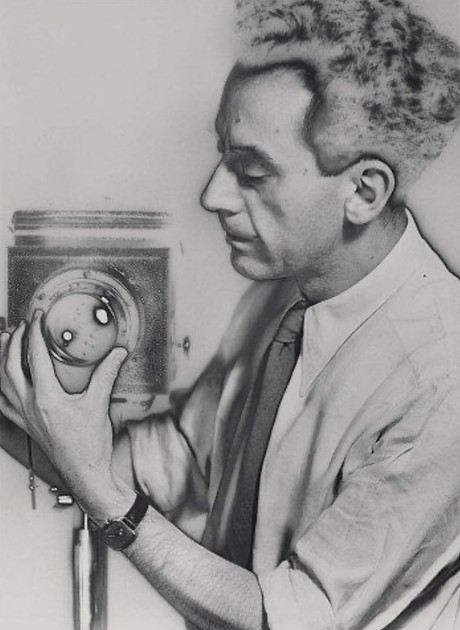 This intrigued the ever inquisitive and experimental artist and appealed to his Dada and Surrealist way of seeing the world. He and Lee set about recreating the “accidental” re-exposure process to see how far they could take the aesthetic chemical process.
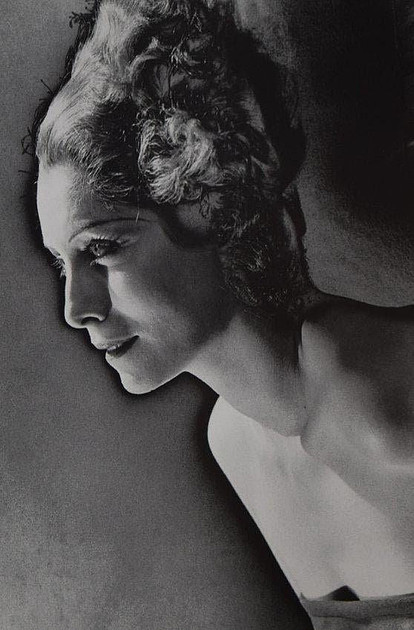

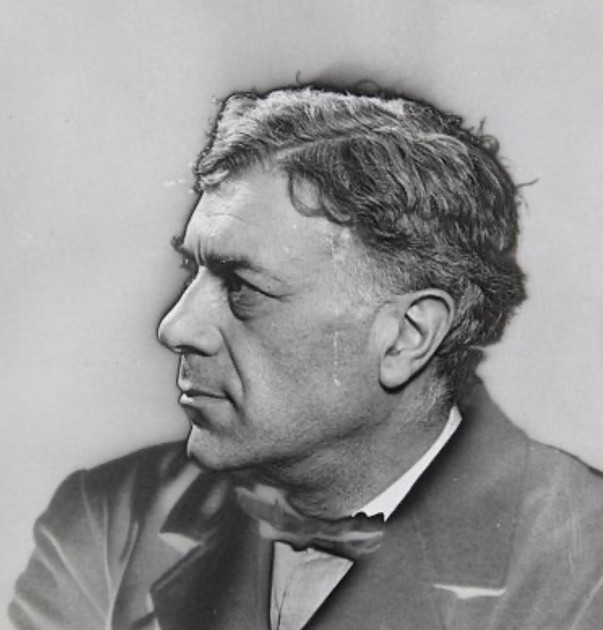
One of the big takeaways for me in looking at Man Ray’s solarization work, and that of other analog photographers such as Minor White and Jerry Uelsmann is the sheer randomness of what is a chemical process. It is utterly “un-repeatable” in its nature. You can do the same process, on the same print and get different results each time. Each work of Solarized art is a truly unique, one-of-a-kind piece (at least with the analog process. Digital is something else).
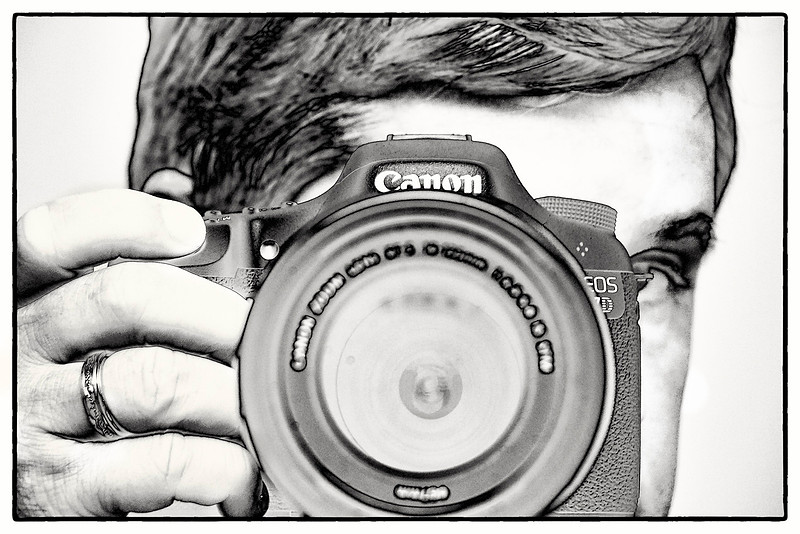 Like Man Ray and others who had become my photographic mentors and artistic kindreds, I experimented heavily with the solarization process, both on prints and film negatives in my high school and art school days. Alas my early work is all gone, sadly. It would be nice to compare those early chemical based images with the work I’ve done in the digital realm of solarization.
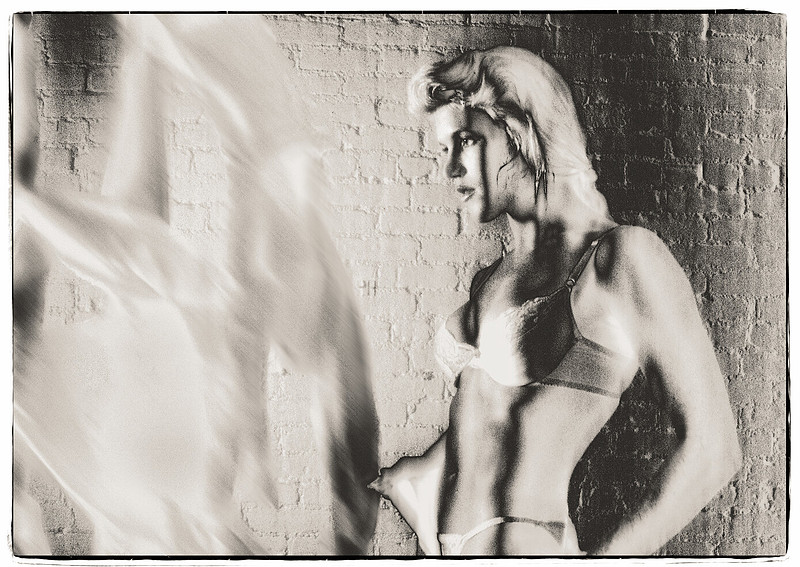 Probably my earliest existing solarization, this was made from an original 35mm color slide image photographed in the ‘80s in NYC. While you can create color Solarized images (I may do a follow-up post on the nuances of the color process), I prefer the classic black and white solarizations.
So What Is The Best Subject For Solarization?
My answer to that would be “anything”. You have to play with the process and see how your images respond to a solarization technique. Not all images work as well as others, so you have to experiment. One subject that is a classic for the process is portraits, whether self-portraits or of others.
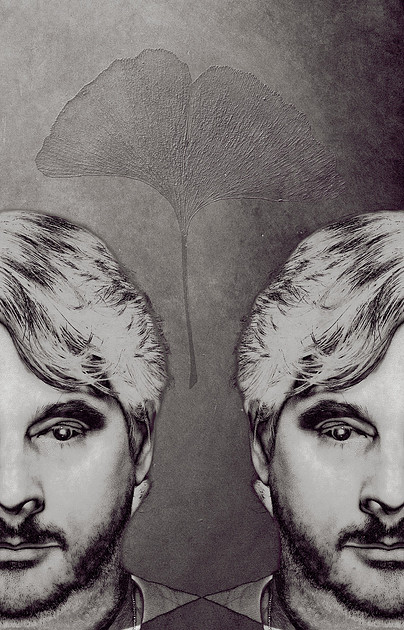 This “Self-Portrait with Ginkgo Leaf” is a good example of the subtleties the process can achieve, and you have far more control over the results with the digital technique of the effect.
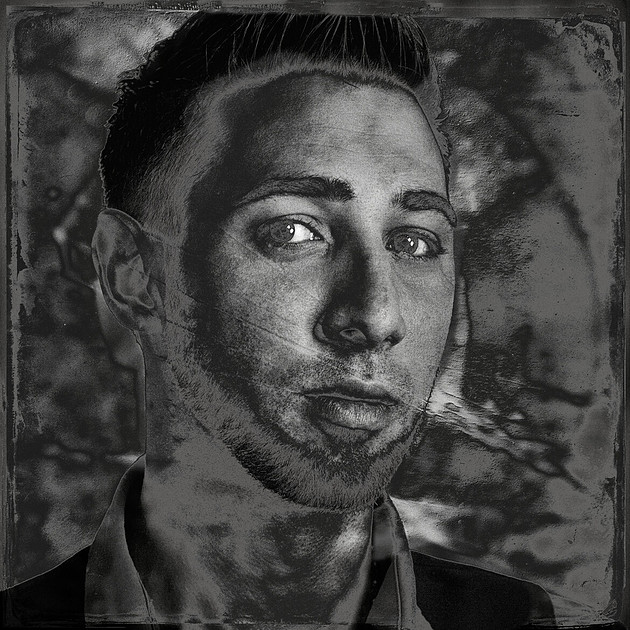
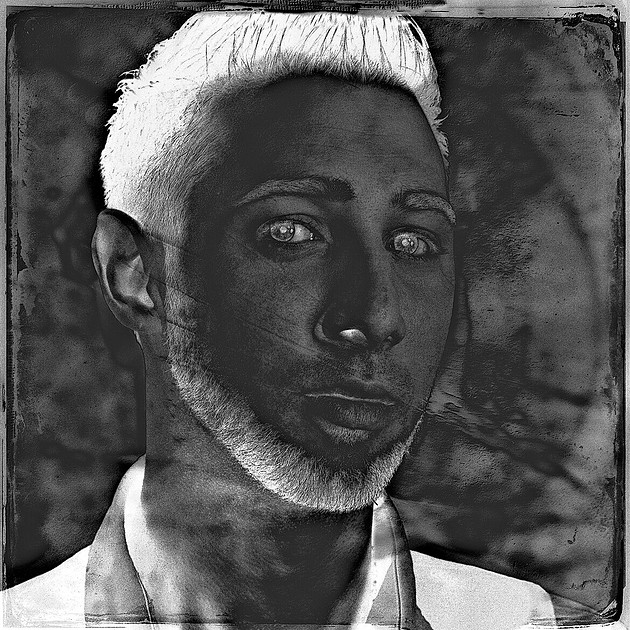 These two portraits show the variations on a theme you can get when you’re willing to experiment and push the technique by saying, “what if…?” I prefer the first variation, but I find I learn more and discover cool things when I go just a little further.
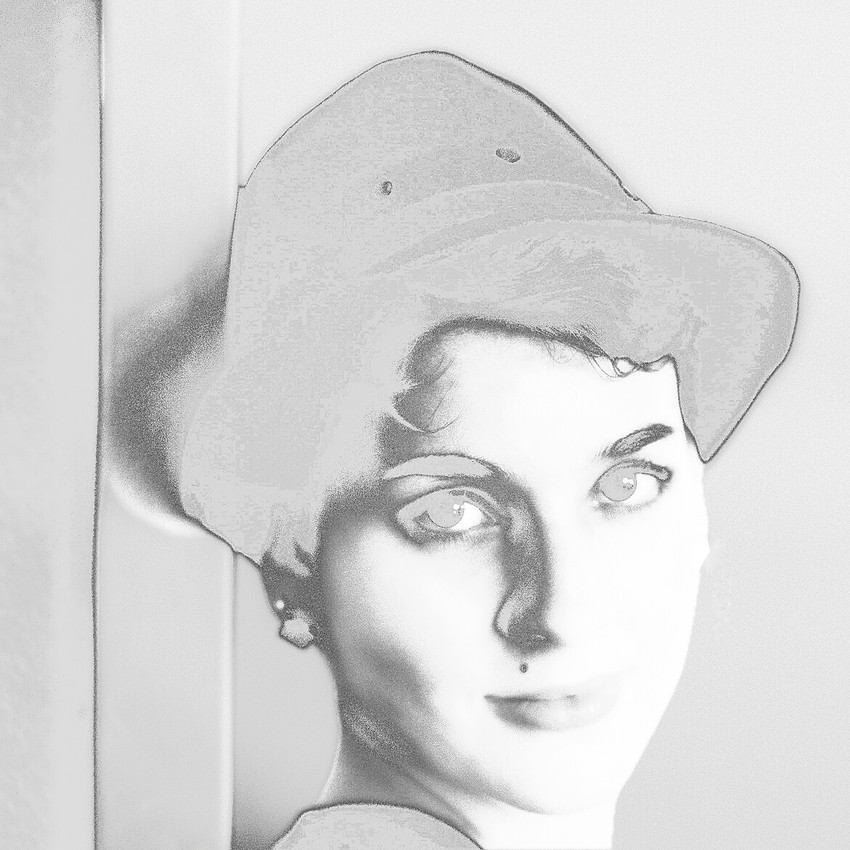
Playing with variations can help you hone your technique and learn about the subtleties of the process and what you like best.
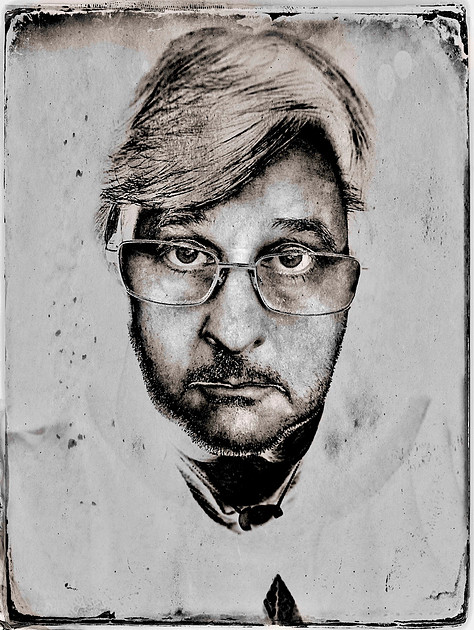 As I’ve said, while portraits are a great subject to apply the solarization technique to, they are by no means the only good subject. Although using a mobile phone and a black and white tintype app provides a really cool quality that lends itself wonderfully to solarization.
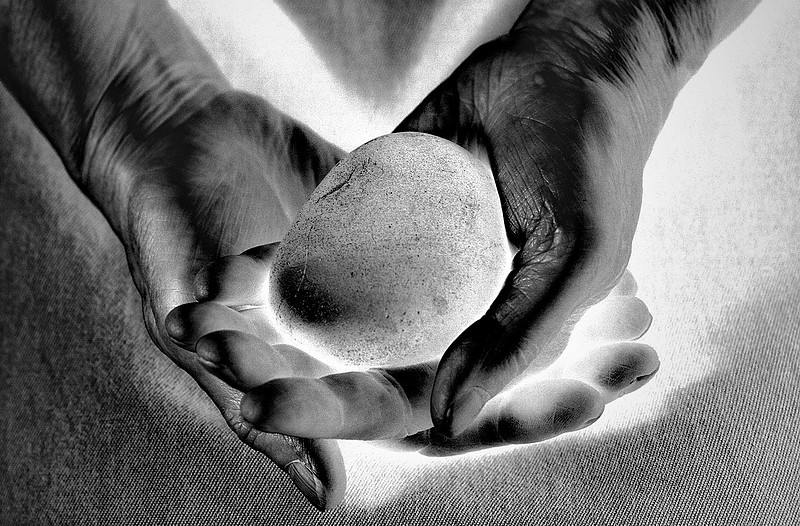
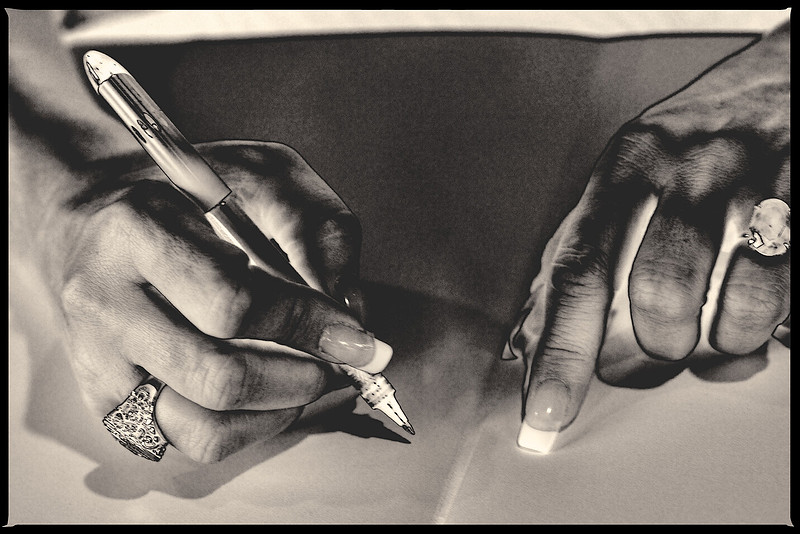 Hands are another great subject and lend themselves to a great variety of results. I consider hands alone to be a portrait of a person, every bit as valued and true as a face.
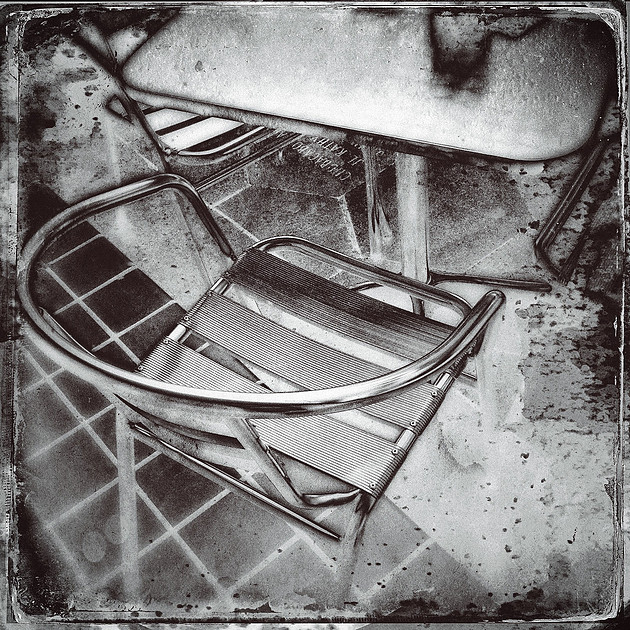
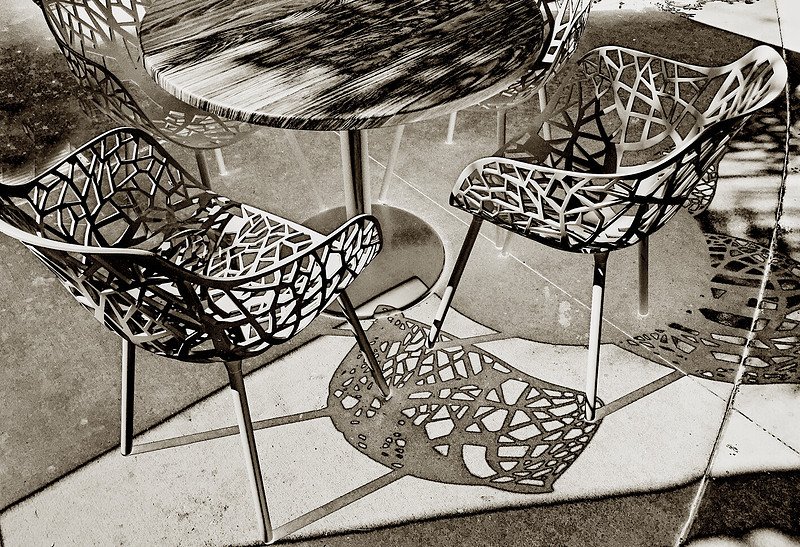
I love photographing “café life” as a subject, and have found it can make a great subject for the solarization process. Keep in mind: strong light and graphic lines make the solarization really stand out.
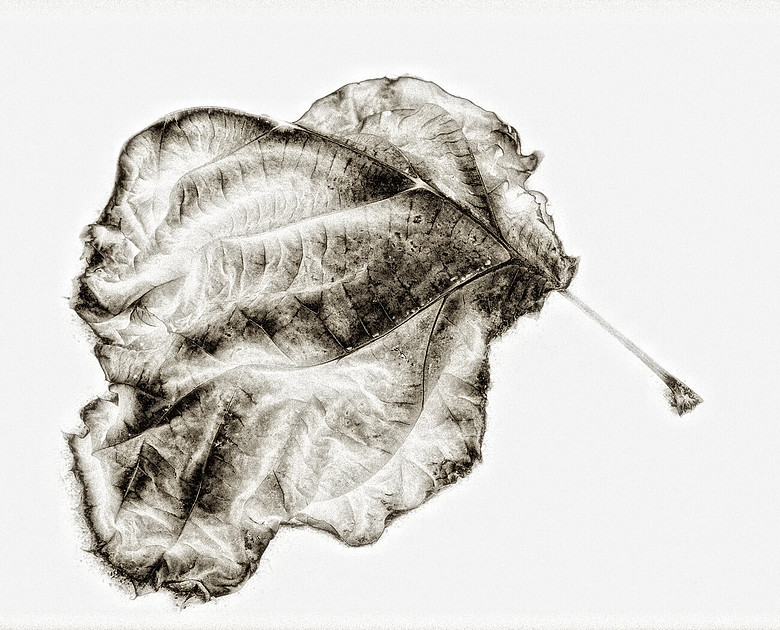
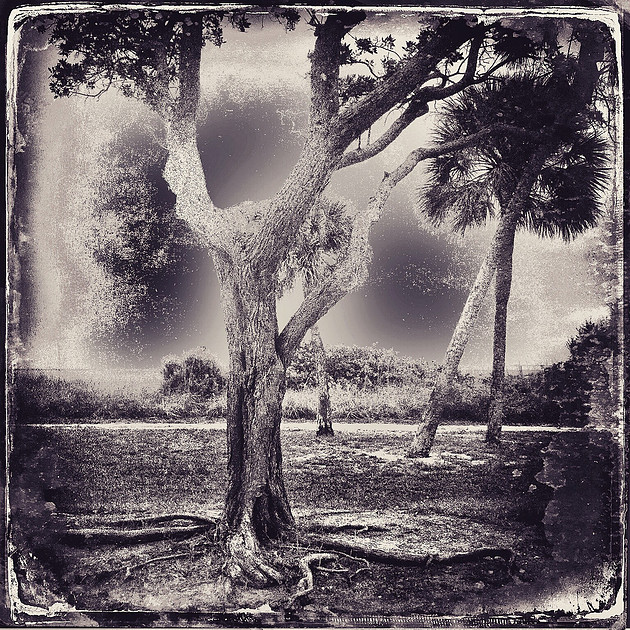
Landscapes and nature can make great subjects to solarize if chosen wisely. Not every image will be suitable for the process, but you won’t know if it works for the better unless you try!
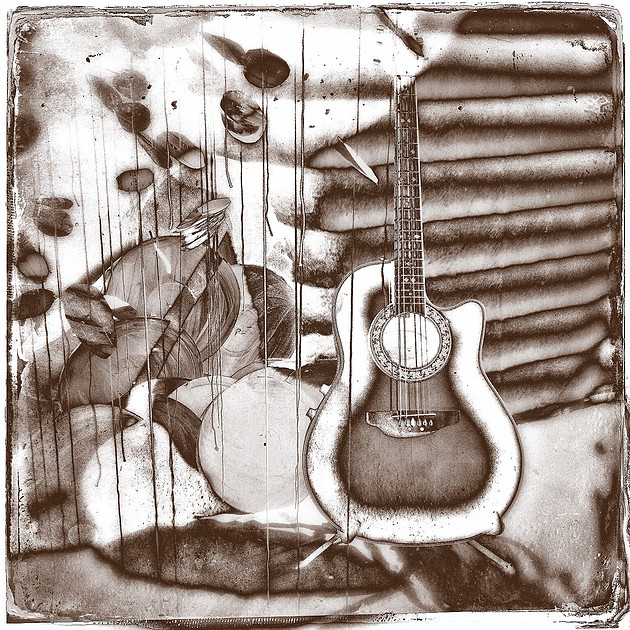
Even a subject you photograph in a store window display could be enhanced, made better, and become something even more beautiful as a result of being solarized.
So how do you do a “digital” solarization?
A very good question with a fairly simple answer. Since a traditional analog print solarization is the result of exposing a developing print (or negative) to a flash of white light and partially reversing the tones of silver in the emulsion through a chemical process, how can you achieve similar results with digital tools that are worlds apart? Here is a short video that illustrates the process. I’ll walk you through it below:
You can use this technique in any imaging editor that has a Curves tool. It’s best to first convert the image to a simple black and white image to avoid any color artifacts from affecting the image. Then you simply open your Curves tool, make sure you select the grey or luma curve, grab the blacks point in the lower left of the Curve line and raise it all the way to the top so its level with the whites point. Next grab anywhere in the middle of the line and drag it down towards the middle of the Curve histogram, making a “U” shape of the Curve line. You can then move your middle point up, down, left or right to tweak the effect to your liking. That’s it, you’ve just created a digital black and white Solarized image!